[mysqld]
pid-file = /var/run/mysqld/mysqld.pid
socket = /var/run/mysqld/mysqld.sock
datadir = /var/lib/mysql
log-error = /var/log/mysql/error.log
#By default we only accept connections from localhost
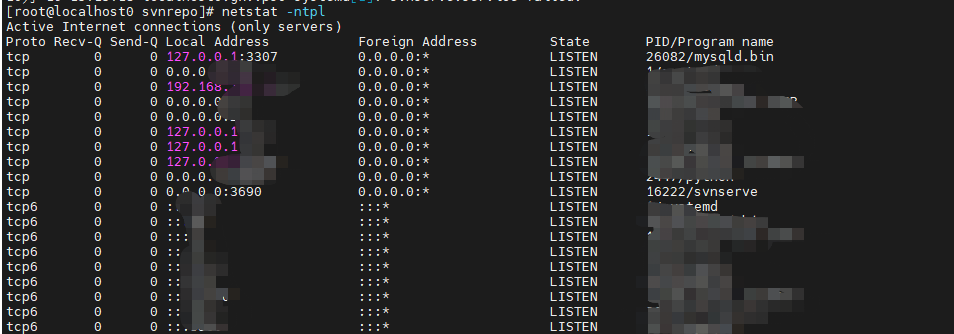
bind-address = 127.0.0.1
#Disabling symbolic-links is recommended to prevent assorted security risks
symbolic-links=0
character_set_server = utf8
init_connect = 'SET NAMES utf8'
在[mysqld]下面增加一行skip-grant-tables,配置如下
[mysqld]
 skip-grant-tables
 pid-file        = /var/run/mysqld/mysqld.pid
 socket          = /var/run/mysqld/mysqld.sock
 datadir         = /var/lib/mysql
 log-error       = /var/log/mysql/error.log
#By default we only accept connections from localhost
 bind-address  = 127.0.0.1
#Disabling symbolic-links is recommended to prevent assorted security risks
 symbolic-links=0
 character_set_server = utf8
 init_connect = 'SET NAMES utf8'
保存后重启mysql
su root
service mysql restart
mysql -uroot
3.重新给root用户权限
use mysql
update user set Update_priv ='Y' where user ='root';
update user set Select_priv ='Y' where user = 'root';
update user set Insert_priv ='Y' where user = 'root';
set password for root@'%' = password('root');


近期评论